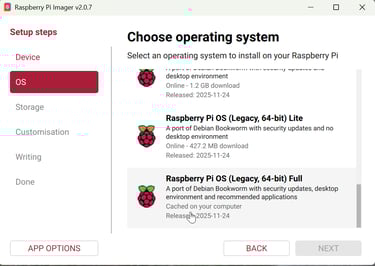
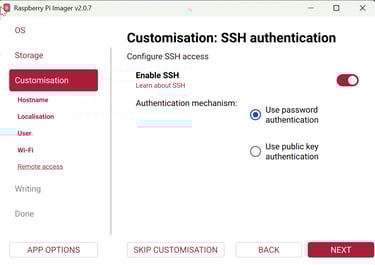
From scratch, open Raspberry Pi Imager and select your device. Next choose OS, Bookworm 64-bit Full is best. Enable SSH.
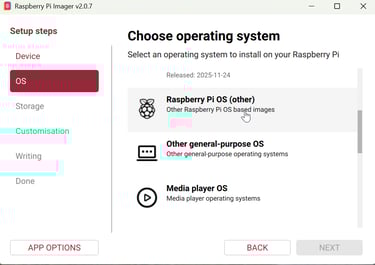
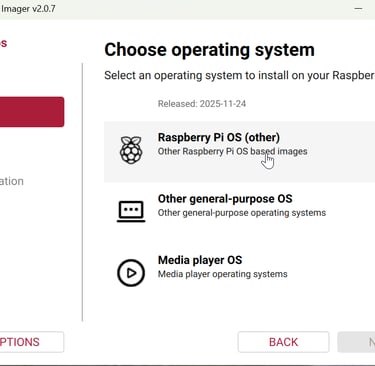
Screenshot of Raspberry Pi Imager v2.0.7 showing the menu to choose an operating system for installation.
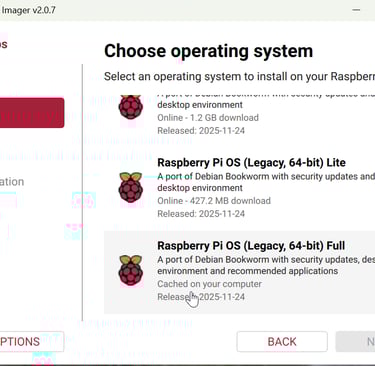
A screenshot of Raspberry Pi Imager v2.0.7 interface showing the OS selection menu for a 64-bit Debian Bookworm install.
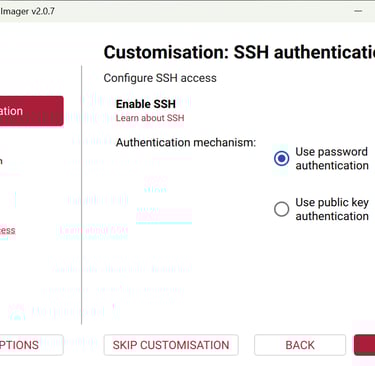
Raspberry Pi Imager software showing SSH authentication settings for remote access configuration.

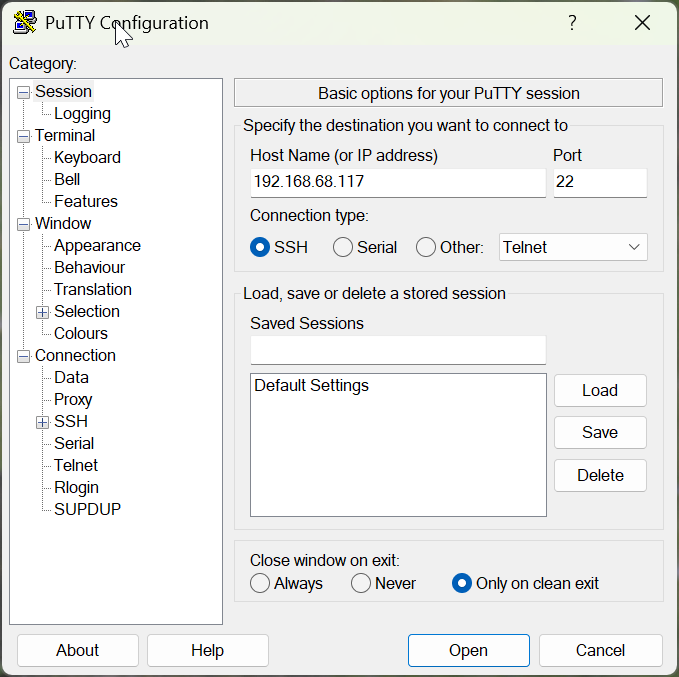
Install Putty to allow SSH into your Pi from Windows. Find your Pi ip-address if you do not already know it with ifconfig -a Either eth0 or wlan0 will show your Pi ip (depends on whether you have ethernet or wifi connection to the Pi).
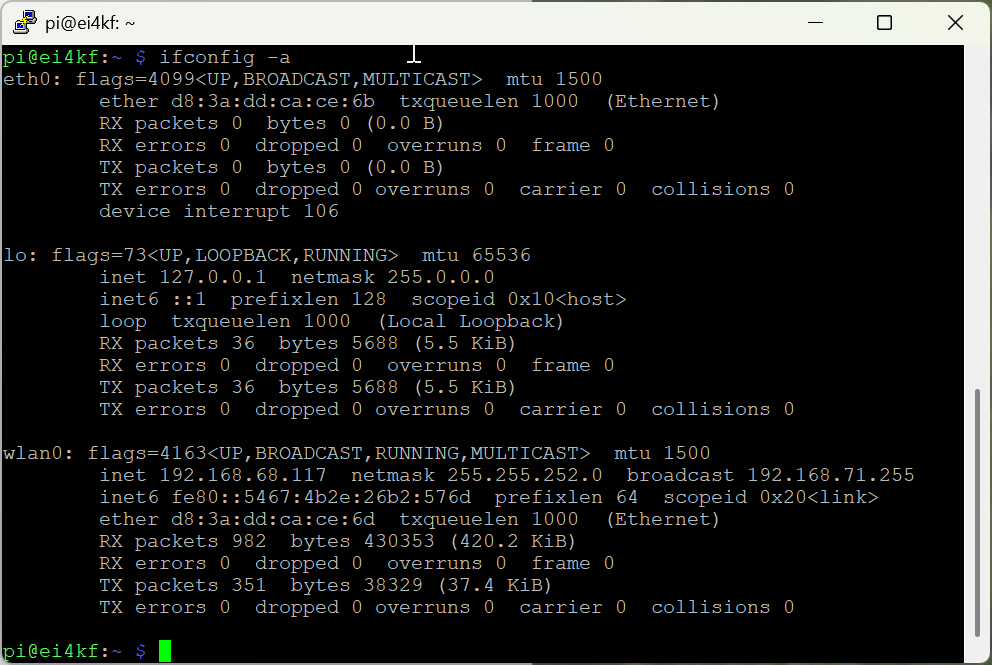
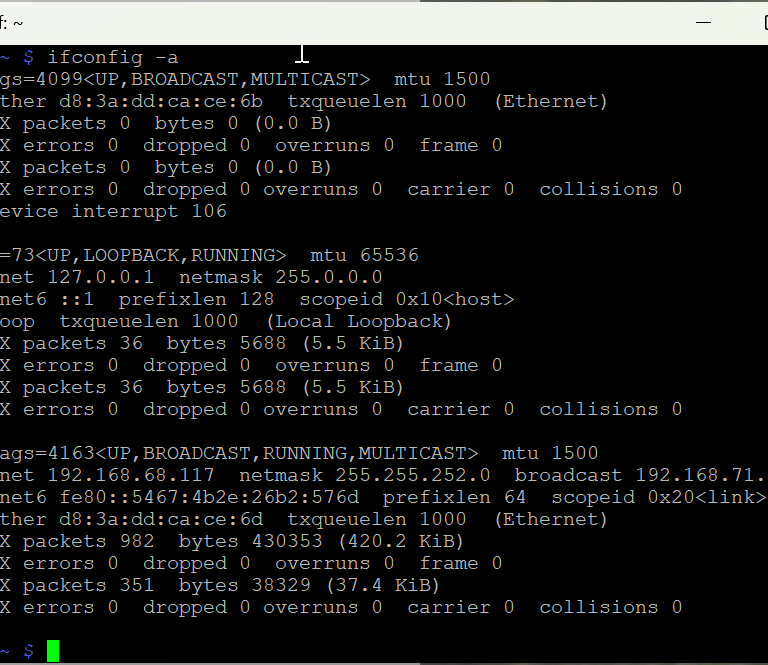
A Linux terminal window showing the ifconfig command output displaying network interface configurations for a Raspberry Pi.
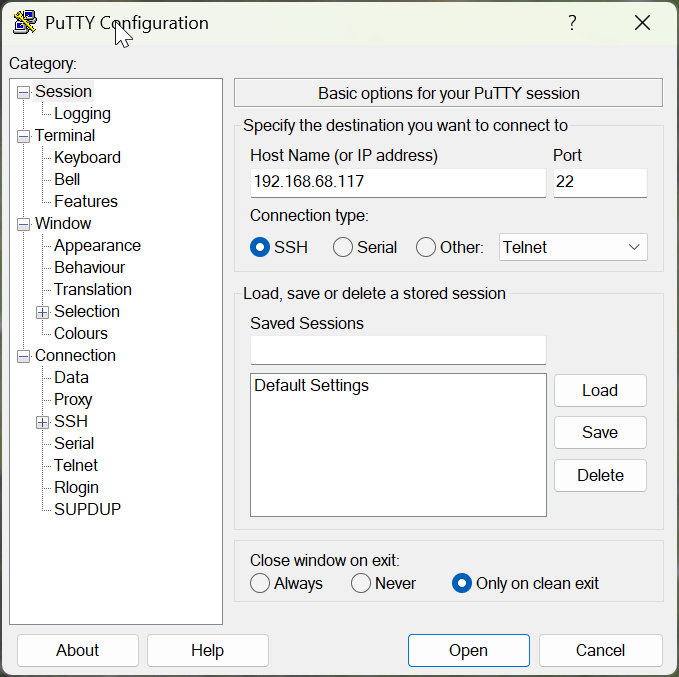
PuTTY configuration window showing SSH connection settings with IP address and port fields.

After opening Terminal at the ESPHamclock folder, use make help to see which sizes can be installed
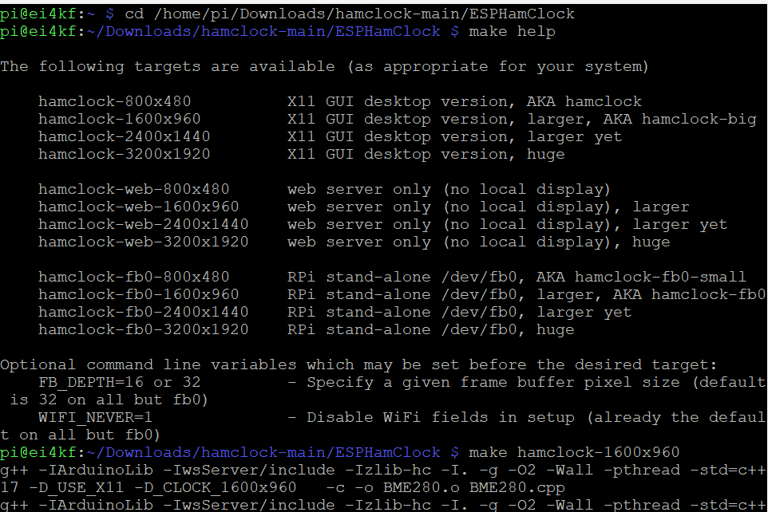
A terminal screen showing command line compilation of ESPHamClock software on a Raspberry Pi.

Next is the make hamclock-1600x960 command (or whatever size suits your screen), followed by sudo make install

Hamclock will be installed. In Terminal try /usr/local/bin/hamclock & and from here make your Hamclock configuration
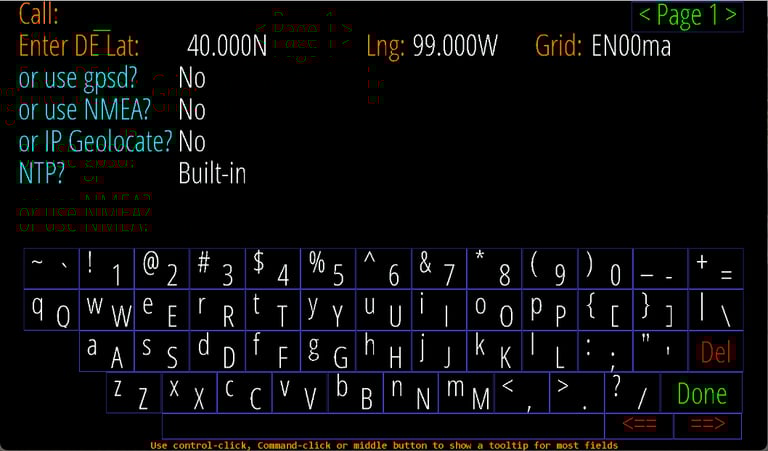
Ham radio software interface showing location settings and an on-screen QWERTY keyboard.
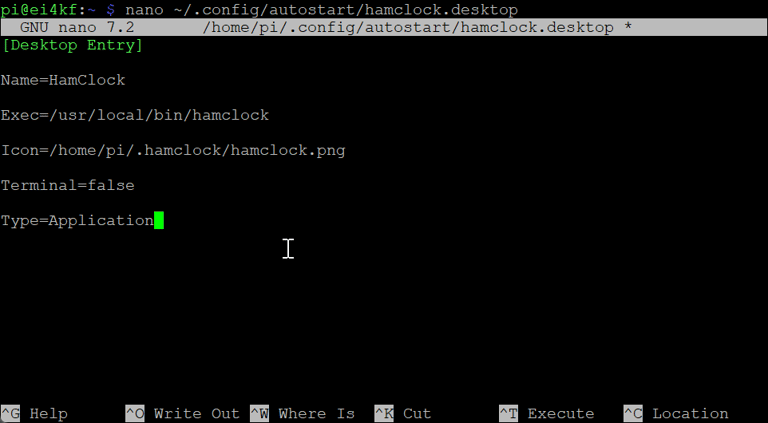
A Raspberry Pi terminal screen using nano editor to configure a hamclock.desktop autostart file.

Copy icon to desktop and make it autostart when Pi boots. See the text to determine the exact Exec= definition, depending on whether you are pointing HamClock externally or to your own OHB server.

With Hamclock directed to OHB, reboot your Pi.

Visual aids for OHB Hamclock install

For cross-referencing with the home page install guide
to provide easy HamClock Installation