Click any image to see a full-screen preview.
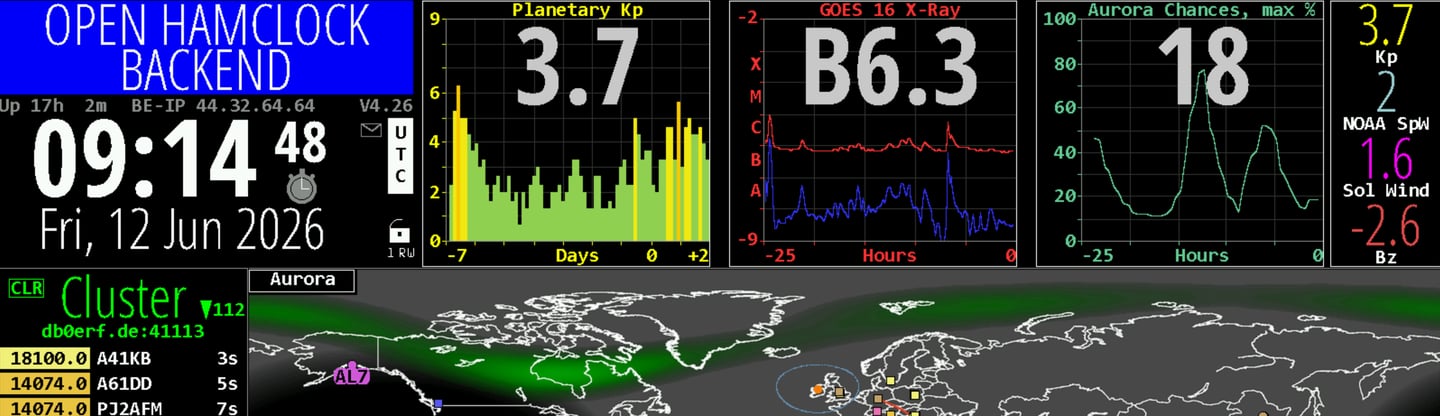
Hamclock frontend image updates
The final original Hamclock from ClearSkyInstitute was version 4.22 and this is the version that everyone had installed. Dave N9DK / OHB will continue to develop the client with improvements and maintenance. Using the URL in the desktop icon and / or in autostart of /usr/local/bin/hamclock -b ohb.hamclock.app:80 will allow automatic frontend image updates. You do not need to do anything, updates will occur just as they did with the original CSI Hamclock. However, note that you must use the URL and not follow other websites and amend the host file. Their advice will not work and updates will fail.
If you want to, it is possible to test any frontend beta version updates. Go to the Hamclock Client releases page at https://github.com/komacke/hamclock/tree/main
Betas don't carry over from version to version. If you are on 4.28b01 you'll get offered b02, b03 and on until the final 4.28 upon release. You don't automatically get 4.29b00. You have to go get that and then you are in the stream again until 4.29 is released.
Click 'Tags' to open a list of versions. If there are no new beta versions, your Hamclock will have updated to the latest anyway. If there is a new beta, select it and scroll down to Assets. Pick HamClock Source Zip with version and get the zip. It is best to use your web browser on the Pi so that the file downloads directly. This latest client version can be used to overwrite an existing Hamclock or used for a fresh install.
Unzip it to get the ESPHamClock folder. If you want to amend the Kp_Interval value, follow the instructions on the Home page. After, right-click the folder and select Open in Terminal as before. The make commands are used in turn as previously described. Once installed, the front end will automatically update when there are new versions. Do note though that these can break any changes you have made to hamclock.h and, for example, the KP_Interval may revert to the default.
A pre-existing desktop icon can be used with an amended address in the Command box at the Desktop Entry tab. Remember the difference between pointing to your own OHB server installed in Docker and an external OHB server, either ohb.hamclock.app:80 or the one below.
If you have installed OHB in Docker on your Pi to enable running your own OHB server, there is a special URL with -S option to allow for automatic frontend updates: /usr/local/bin/hamclock -b localhost:80 -S ohb-test.hamclock.app
The above command in the Command box, Desktop Entry tab of the desktop icon will allow for manual starting of HC pointed at the ohb-test server. For autostart the hamclock.desktop file has to be amended:
Navigate to /home/<user>/.config/autostart so, in my case, cd /home/pi/.config/autostart
Open hamclock.desktop with nano hamclock.desktop
Change the Exec= line as below
[Desktop Entry]
Name=HamClock
Exec=/usr/local/bin/hamclock -b -S ohb-test.hamclock.app:80
Icon=/home/pi/.hamclock/hamclock.png
Terminal=false
Type=Application
Save and exit with Ctrl+O, Enter, Ctrl+X .
When a frontend image update is available, HamClock will prompt you to install it. Just as it did originally from CSI. The version number will turn red 4.22. Double-click it to start the upgrade or else HC will update according to your configuration settings.
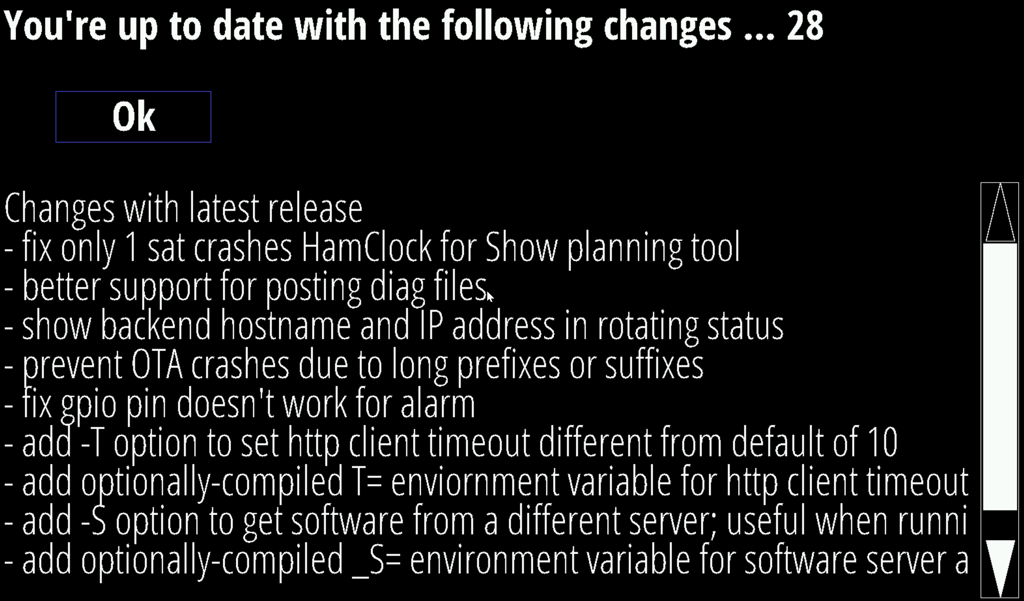
Frontend image updates are available to the standard installation as on the Home page as well as to the beta versions with -S option.
Double-click the version number in your Hamclock at any time to get a list of the latest changes.
New Feature introduced in 4.24b05 and later versions
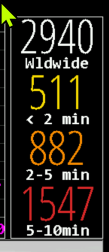
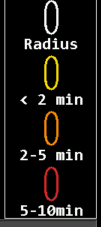
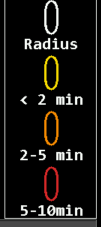
Lightning counts and distance feature is available in the top right-hand pane. In addition to the usual options of NCDXF, SpcWx, on/off, DX Wx, DE Wx, there is now Lgtng. When the Lightning is showing, right click to change from a Worldwide count to a 500km radius count. The counts show the number of strikes within 500km and then per the various time scales.
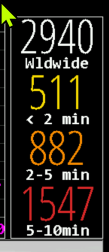
If you download from my dropbox, as already stated, the KP_Interval has been modified in the Hamclock.h file to 600 seconds.
Other files have been changed. These are the instructions in case they are replaced by defaults when Hamclock updates.
Lightning.cpp - the default draws 5 concentric rings at 100, 200, 300, 400, 500 km that obscure the lightning symbols which defeats the object of having lightning alerts. I have modified the file to show one ring at 500km (311 miles). Open the file and search for "ltg_ring_dist[] =" and change the value to { 0, 0, 0, 0, 500 }; Save the file.
Earthmap.cpp - change this if you want the DE marker to be a small dot rather than the default blob that can obscure lightning symbols. Open the file and find "drawdemarker". Under 'void drawDRMarker (bool force)' delete everything up to '/* erase the antipode symbol....' and replace with
{
if (!force && !overMap(de_c.s)) return;
tft.fillCircle(de_c.s.x, de_c.s.y, DE_R, DE_COLOR);
}
Save the file. To effect the change in the size of the DE marker, the Hamclock.h file has to edited as well. Open the file and search for DE_R. You will see two entries DE_R 6 and DEAP_R 6 and these values need to changed from 6 to 2. Save the file.
Recompile as before.